By Carolyn Owen
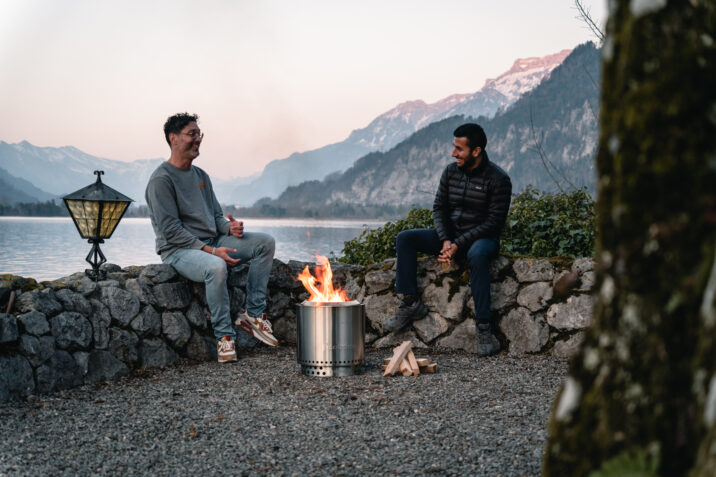
You don’t need to be an Eagle Scout to start and sustain a smokeless fire. With the right tools, anyone can light the perfect fire and keep it lit as long as you’d like. All you need is firewood and a firestarter or two. Follow along step by step to learn the easiest method for lighting a fire using Solo Stove essentials.
Step 1: Lay The Foundation
Firewood
Create some kindling out of your firewood by trimming it down with an axe or hatchet. One of our favorites is Solo Stove Oak Firewood. Oak is an ultra-dense hardwood that will rage on for hours, providing you with an efficient and low-smoke burn. It can also be trimmed down into smaller pieces of kindling to get your fire started. If you don’t have an axe on hand, or if the idea of creating your own kindling doesn’t appeal to you, try using chunk wood instead! Lay some pieces down in a square shape on the base plate of your fire pit.
Pellets
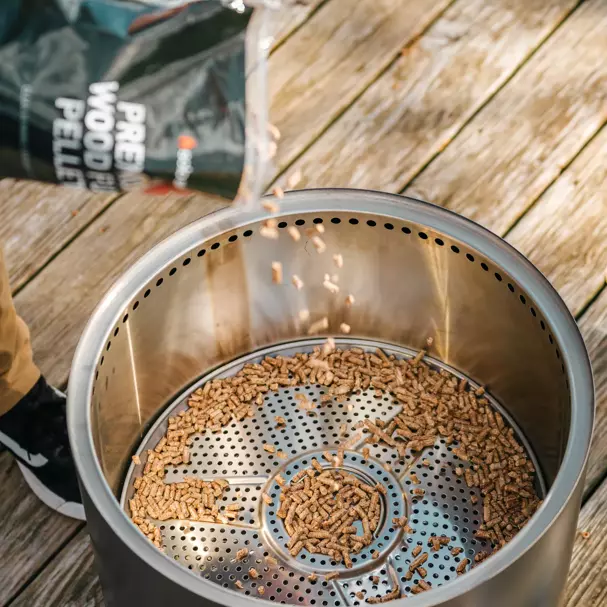
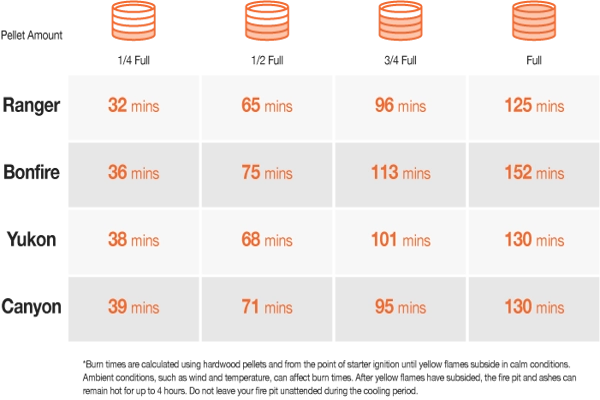
If you’re hoping to build a fire with minimal effort, pull out the Solo Stove Fire Pit Pellet Adapter and pour on a bag of premium wood pellets.
If you need guidance on how much pellet fuel to use, reference our guide below:
Fire Pit Fill Amount
Step 2: Add Your Starters
Whether you fuel your fire with Pellets or Firewood, you’re going to need a starter.
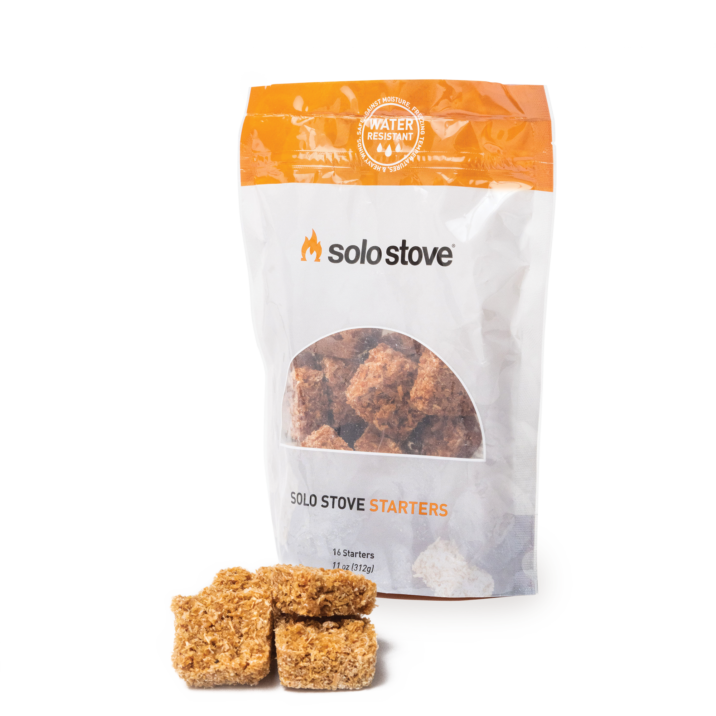
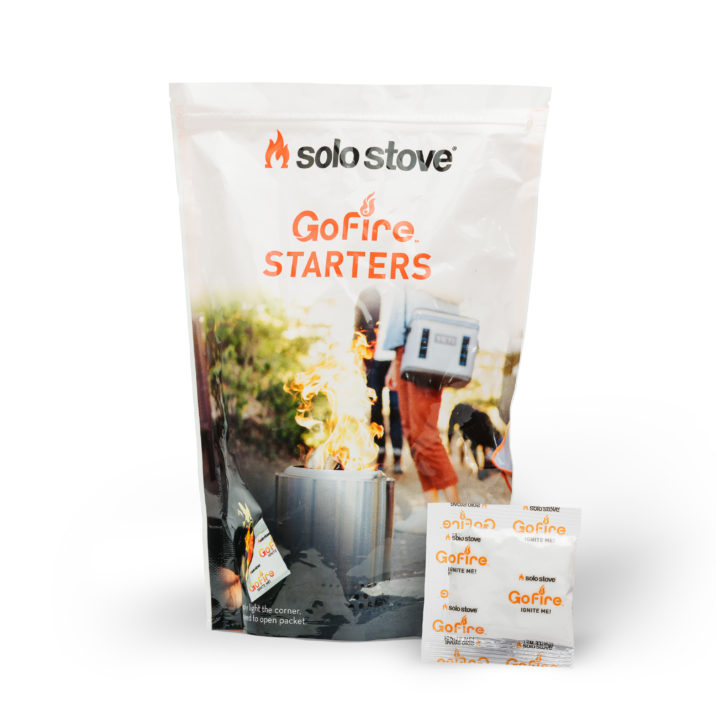
You can make your firestarters from newspaper, dryer lint, and even Vaseline. We prefer our own Starters or Starter Packs — guaranteed to light every time.
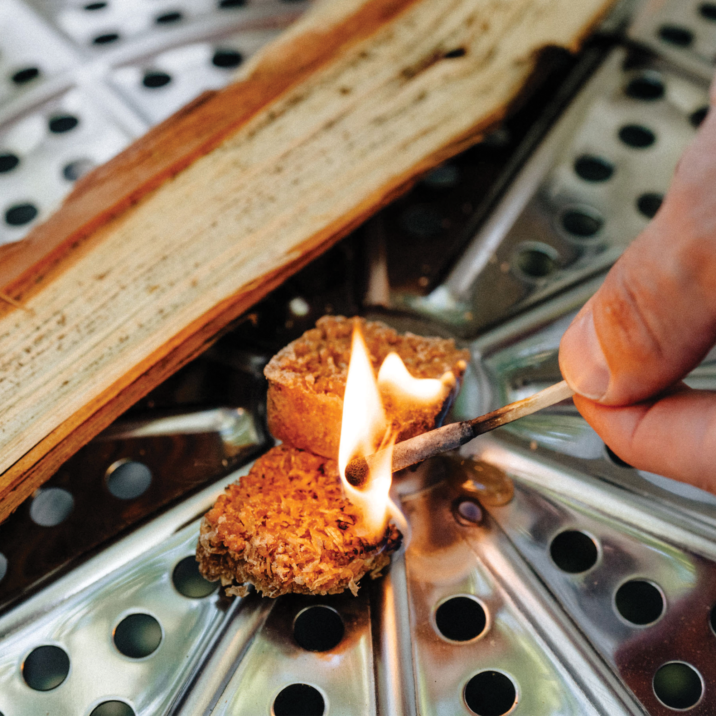
Step 3: Light Your Starters
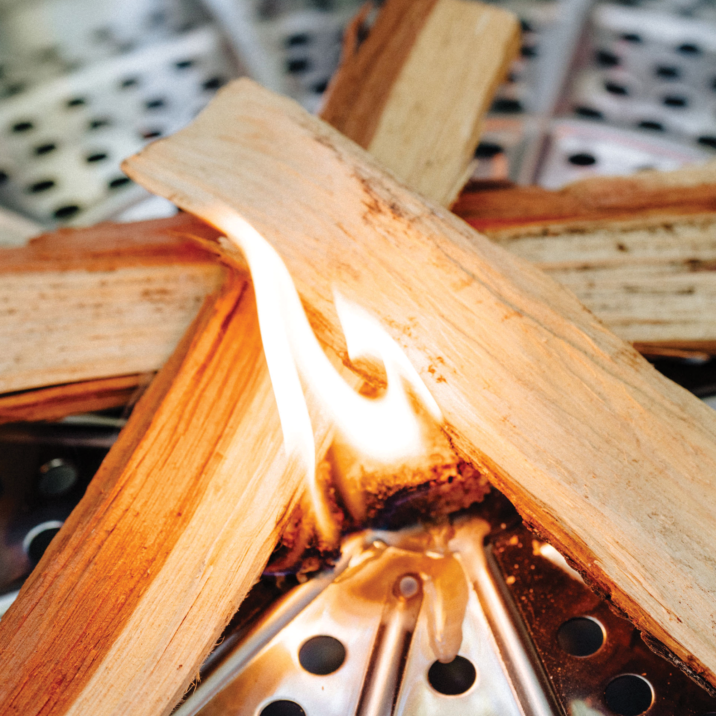
Firewood
Lay a few pieces of kindling over your firestarters, then light them. Makes sure to hold the flame to the starter until it has caught on fire.
If your lighter is all out of juice, feel free to use matches or even a propane torch if you’re feeling a little extreme.
Pellets
If you’re lighting up pellets, this is your last step! Simply place 4-5 firestarters in the pellets, then light them. The fire takes about 10-15 minutes to spread across the top of the pellets. Once completely lit, the pellets will burn evenly for 2+ hours without needing more fuel.
If your fire goes out, don’t fret! Grab a long lighter and reignite the smoke near the secondary burn holes.
Step 4: Build A House
Firewood
Once your fire spreads from the starters to the surrounding pieces of kindling, add more pieces in a cone, or “house”, shape.
“Oh no, I’m all out of kindling!” — Don’t worry. Chunk wood is a great substitute. Go ahead and swap it out for any step in this process where kindling is a must-have!
Step 5: Add Firewood & Enjoy
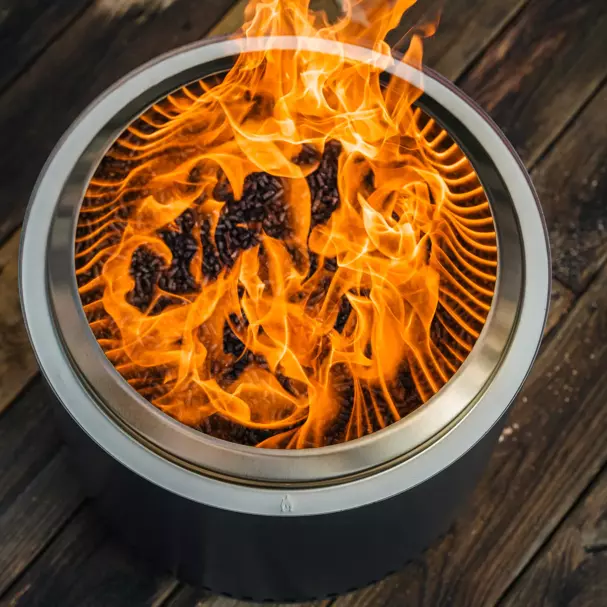
As soon as your kindling is fully caught, add firelogs and let your fire burn big and bright! Rest your logs under the secondary burn holes so that you can make sure your fire is smokeless. If you’re noticing smoke after your fire has fully caught, check out our blog “Quick Fixes For A Smoky Fire” for tips on how to fix it.
Solo Stove Firewood is custom-cut to fit inside of all of our fire pits. You can’t go wrong with Solo Stove’s long-burning Oak Firewood!